Linux kvm private virtual switch with libvirtd
Contents
Create a network xml file
<network> <name>privatenet</name> <bridge name="privatebr0" /> </network>Import the network xml file
 # virsh net-define /tmp/privatenet.xml
Network privatenet created from /tmp/privatenet.xml
Verify that the network is created in libvirt
[root@vicky]# virsh net-list --all
Name State Autostart
-----------------------------------------
default active yes
privatenet active no

[root@vicky] # virsh net-info privatenet
Name privatenet
UUID b13de960-72cc-4f66-32df-432ce2e45538
Active: yes Persistent: no
Autostart: no
Bridge: privatebr0
Enable auto-start
 virsh net-list
Name State Autostart
-----------------------------------------
default active yes

virsh # net-list --all
Name State Autostart
-----------------------------------------
default active yes
privatenet inactive no

virsh # net-start privatenet
Network privatenet started

virsh # net-autostart privatenet
Network privatenet marked as autostarted

virsh #
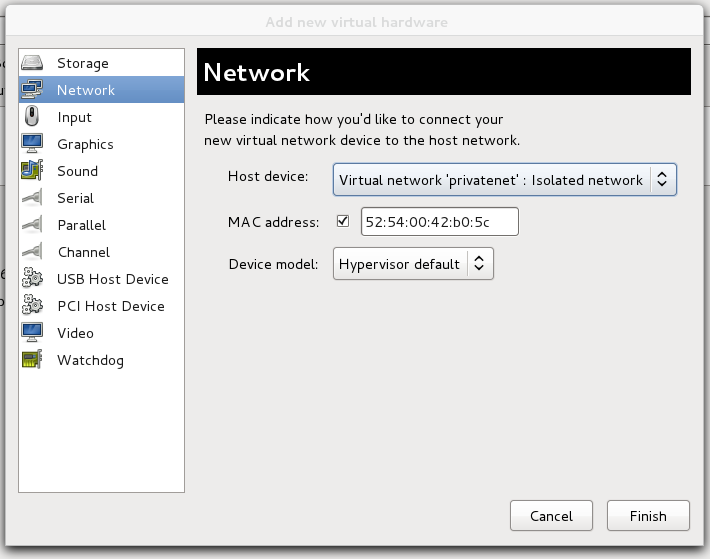
Start virt-manager
Add the virtual switch to an existing domain or use it for a new domain.
Start the domain
Start the domain in virt-manager or by virsh.
# virsh
Welcome to virsh, the virtualization interactive terminal.

Type: 'help' for help with commands
 'quit' to quit

virsh # list --all
 Id Name State
----------------------------------
 - centos6 shut off
 - debian shut off
 - fed1 shut off
 - fed2 shut off
 - mywin shut off
 - sol10 shut off

virsh # start fed1
Domain fed1 started

virsh #